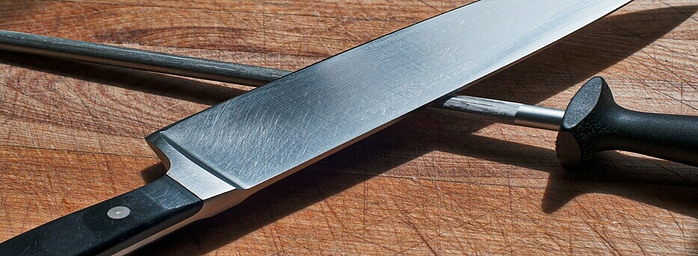
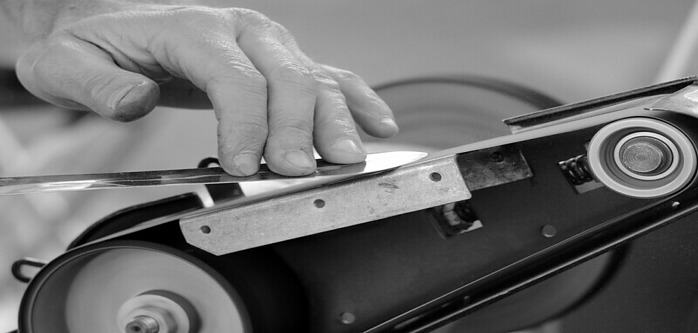
 I’m going to take you through the crucial first steps of knife sharpening, setting you up for success right from the start. Keeping your blades sharp isn’t just about making clean cuts; it’s about safety and cooking with ease. A dull knife is a dangerous one because it requires more force to cut, increasing the risk of slipping and injuring yourself.
You can always test how sharp your knife is by running it against a tomato or a piece of paper. If it slices with little resistance, you’re good to go. If not, it’s time to sharpen.
Now what are the tools of the trade? You’ve got whetstones, honing rods, and pull-through sharpeners. Each has its place, and your choice will depend on the knife and the level of dullness.
Before you start sharpening, it’s crucial to create a stable workstation. Secure your sharpening tool so it won’t move around and ensure there’s plenty of light. Safety first—always.
As we move on to specific techniques, remember that the tools and preparation you choose will lay the foundation for every subsequent step. With everything in place, we’re ready to sharpen your knives and get them slicing with precision again.
Sharpening Techniques: The Step-by-Step Guide
Getting the angle right is key. There’s no need for fancy gadgets; a simple, consistent angle between the blade and your sharpening tool does the trick. For most kitchen knives, an angle of about 15 to 20 degrees is spot on.
Consistency is your best friend when it comes to sharpening knives. Each stroke across the sharpening stone should be smooth and controlled, maintaining the same level of pressure from start to finish. It’s not a race – slow and steady wins the edge.
Not all knives are created equal. Serrated blades require a different approach compared to their straight-edged cousins. Most of the time, you’ll be using a honing rod or a specialized tool for serrated knives to carefully sharpen each gullet.
You don’t have to guess if you’re doing it right. Test your blade by slicing through a sheet of paper. If it glides through effortlessly, you’re in business. If not, a few more strokes might be in order.
In the next section, you’re going to find out how to keep that razor-sharp edge for as long as possible. They say a dull knife is an accident waiting to happen, so proper storage and maintenance are musts to keep your kitchen both safe and efficient.

Maintaining Your Edge: Everyday Tips for Lasting Sharpness
I’m going to let you in on a little secret: getting your knives sharp is only half the battle; keeping them that way is where the real game is at. And guess what? It’s not as daunting as it might seem.
You see, how you store your knives has a big impact on their longevity. Choosing a knife block, magnetic strip, or protective sleeves can prevent unnecessary wear and tear. It’s all about reducing contact with other objects that can dull your blade.
Speaking of keeping things in sharp shape, regular honing is like a quick tune-up for your knives. Don’t confuse honing with sharpening; honing straightens the edge of the knife, fixing any microscopic bends.
You’re also going to find out about mindful cutting techniques. Ever thought about that? The surface you cut on, like plastic or wood, and the way you chop, slice or dice impacts your knife’s edge. Choose something that resonates with you and is gentle on your knives—it’ll make a difference.
Finally, it’s key to acknowledge the signs when a knife no longer performs at its best, such as tearing rather than cutting cleanly. When your handy home maintenance can’t quite cut it, that’s your cue to consult a professional to restore the edge.
Now, with these everyday tips, you’re better equipped to keep your knives in prime condition. But sometimes, even with the best care, things can go awry. That’s why the next section is so important. I’ll walk you through some troubleshooting for those common sharpening mistakes that can crop up.
Troubleshooting Common Sharpening Mistakes
I’m going to let you in on a little secret that even some seasoned chefs struggle with sharpening mistakes are part of the learning curve. Don’t worry too much about it – with these strategies, you’ll be back on track in no time.
An uneven edge might be your first hurdle. You’re going to find out that consistency is king. Imagine you’re sculpting – it’s all about repeating the same motion. If you find your blade’s edge is wavy, it’s usually because of varying pressure or angle. My advice? Slow down and pay extra attention to maintaining that consistent angle.
Now what if you’ve gotten a little overzealous and ended up with an over-sharpened knife? First off, that’s a signal you’re dedicated – nice job. However, I’d tell you to ease back a bit. Over-sharpening can make your blade brittle and prone to chipping. To correct this, you can always adjust your approach down the road by using a slightly dulled angle, or consider a different technique like stropping, which realigns without removing more metal.
A sharp knife is a chef’s best friend, but it’s also a commitment. After you’ve sharpened your knives, the journey to maintaining them isn’t over. Each slice you make, each time you clean your blade, you’re making an impact on its longevity. Always dry your knives immediately to prevent rust and corrosion. And remember, choose storage options like a knife block or magnetic strip that won’t dull the edges.
Lastly, but most importantly, acknowledge when it’s time to seek out an expert. If your knife has sentimental value, or you’re just not getting the results you want, professional sharpeners have the tools and expertise to bring even the dullest knifes back to life. It also doesn’t hurt to keep learning. Attend a class or watch some tutorial videos. Keep honing your skills, and your knives will thank you.
Kathie
https://amzn.to/3TOCTek knife sharpening and block.